Set-up Daemon Tools Lite to be able to mount game CDs & play NoCrack repacks (also have working in-game audio like the good old times)
In this tutorial, I will show you step-by-step how to set up Daemon Tools Lite (Free) to be able to mount virtual game CDs, be able to play NoCrack repacks & have in-game CD audio! There are 4 steps that you need to follow, in the first step I will guide you through the installation process, in the second step I will prepare the drive letters (important), in the third step I will configure Daemon Tools and finally, in the fourth step, I will add an IDE drive with the drive letter ‘D:’ So let’s begin! 🙂
1. Install Daemon Tools Lite
The first step is to install Daemon Tools! Get yourself a copy of DT Lite in the following link:
https://www.daemon-tools.cc/products/dtLite
(For older Windows like 7, XP, 2000, 98 & 95 please check out my Tools & Runtimes page)
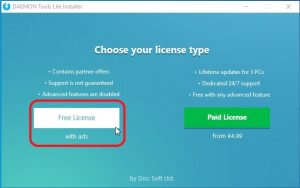
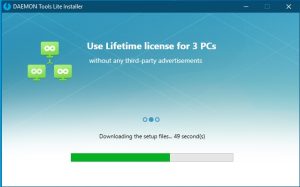
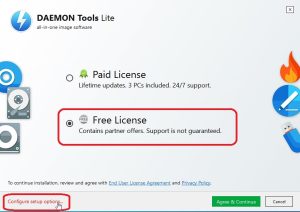
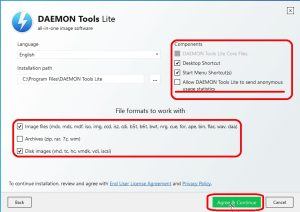
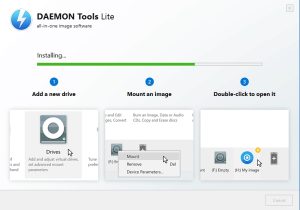
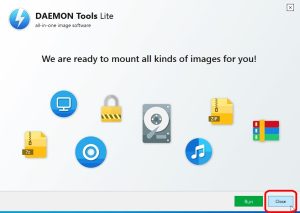
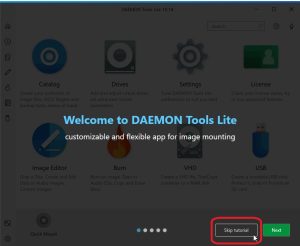
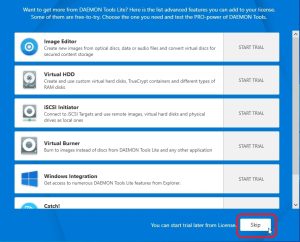
Execute it as Administrator and follow the below screenshots:
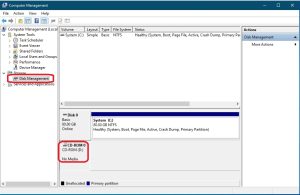
2. Configure drive letters
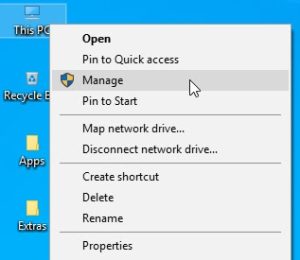
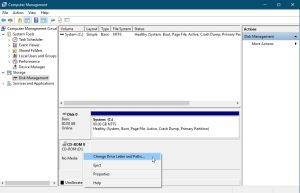
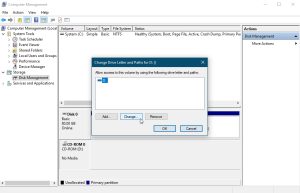
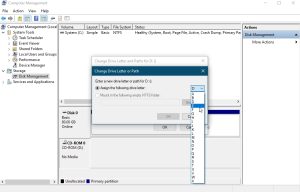
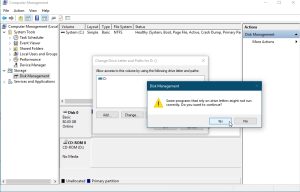
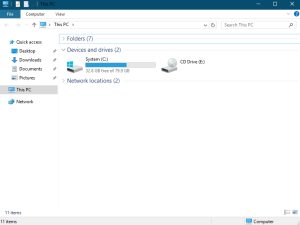
In this second step, you will change the drive letter of your internal CD/DVD drive in your computer (if you have one), in order to free up the drive letter ‘D:’, which will be assigned later to your new virtual IDE drive. This is an important step, so don’t skip it! Let’s continue…
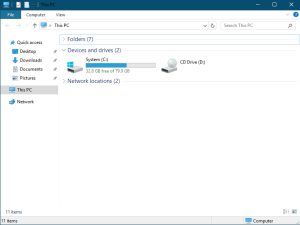
It is important that the drive letter D: is reserved for the virtual IDE drive, so let’s change it to something else like E:
3. Configure Daemon Tools
In this step, I will configure some DT options, like startup behavior and virtual image file types. Let’s go!
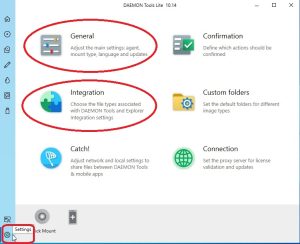
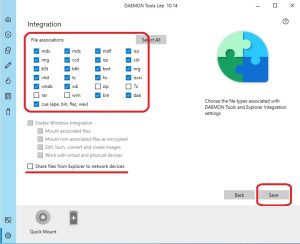
We will configure only the General & Integration sections

It is important that “Automount” is set as shown, otherwise your virtual IDE drive will be lost on the next reboot of Windows 10!
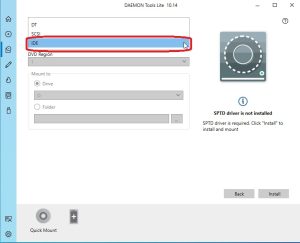
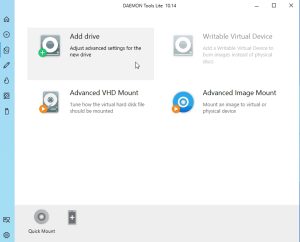
4. Add a new IDE virtual drive and assign the ‘D:’ drive letter, but first, some prelude…
You have made it to step 4, congratulations! Now, first I need to talk about some things and I will continue. In this final step, you will add a new IDE virtual drive with the letter ‘D:’. You might be asking, why IDE drive and why exactly in D: ??? Well, look. We are dealing here with old games and computers of old times used to have CD drives that were connected with that old & bulky IDE cable into the IDE controller. The D: drive letter used to be first in the alphabet, as long as it comes to CD drives, like A: for the floppy drive, C: for the system drive/hard disk where Windows is installed and so on, you get the picture. Most old games are programmed to look for the first D: drive letter for the CD drive, where they would ask the user to insert the physical CD in order to deal with copy protection\DRM and to also play the CD-Audio tracks for the actual game. That’s why when we deal with virtual CD drives & emulation, at least we will do it like a pro!
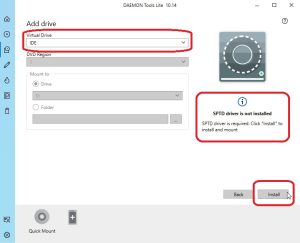
Second, some other thing. There is this thing called SPTD, which stands for “SCSI Pass-Through Direct” and is used to emulate advanced copy protections for virtual game CD images. In order for you to have a working virtual IDE drive, you need to have installed that little thing. Fortunately, Daemon Tools provides this.
And third! With Windows 10 build 1903, Micro$haft introduced some protections in the Windows 10 kernel to deal with the security vulnerabilities in Intel & AMD processors, that were found during that time. Which essentially, makes SPTD incompatible with Windows 10 1903 and newer versions. You can read more about the case here:
https://daemon-help.com/installation/windows_1903/
In order to make it compatible again, you need to disable those kernel protections in the registry. You don’t need to worry about it, as long as you have your Windows updated. So, copy/paste the following, save it as .reg file and execute it!
Windows Registry Editor Version 5.00
[HKEY_LOCAL_MACHINE\SYSTEM\CurrentControlSet\Control\Session Manager\Memory Management]
“FeatureSettingsOverride”=dword:00020000
“FeatureSettingsOverrideMask”=dword:00020000
Alternately, you can download the .reg file from here:
http://files.disc-soft.com/filer/shared/1558622682/287/
(Remember that those registry entries may reset to their defaults after updating Windows 10 and you might need to re-import the registry file!)
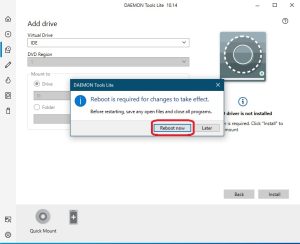
After you are done, reboot your Windows 10 system and then you are ready to proceed with adding the virtual IDE drive! So, follow me below 🙂

Click on Drives
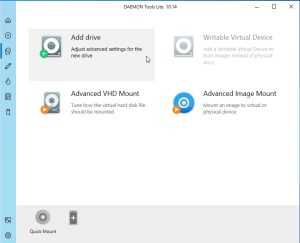
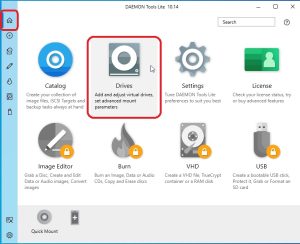
And click on Drives
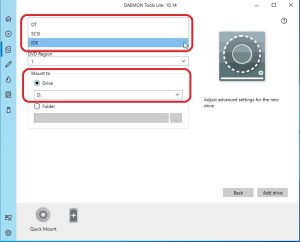
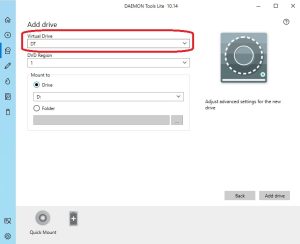
Make sure the new IDE drive is mounted in D:

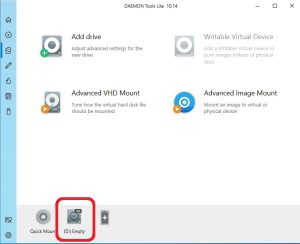
Make sure that on the drive icon at the top it says “IDE”, otherwise it is a normal DT drive
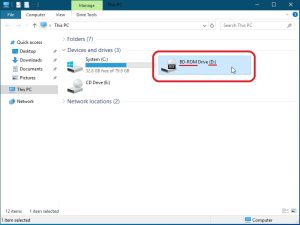
So, that was it! You now have a working Daemon Tools and a virtual IDE drive. You are now ready to be able to mount all types of virtual CD images, especially old games while also having a working in-game audio\music! Was it that hard?